
Essential Gear For Landscape Photography

The essential gear for effective landscape photography begins with the desire to actually get out and do it…
A NOTE CONCERNING LANDSCAPE PHOTOGRAPHY GEAR
As a landscape photographer, choosing the right gear is important. And to achieve top-tier results, you need to couple the right gear along with getting out and actually doing photography. Experiences, education and getting out into the field is always going to be just as important of an investment as having the latest, greatest and most expensive equipment.
But, in order to achieve the best results and sharpest photos, I recommend having the following gear that I believe is essential for every landscape photographer. For the very most part I will not be discussing specific brands of equipment. Just the essential gear that you will need to get the results that you are looking for out in the field.
(1) Camera
For landscape photography, choose cameras with large sensors like full-frame or medium format for better detail and low-light performance. High resolution ensures sharp, clear images for large prints. A good dynamic range helps capture both dark and bright areas well. Look for weather sealing to protect the camera outdoors, long battery life for extended shooting, and strong build quality for durability. Also, pick a camera that feels comfortable to hold and is easy to use, especially on a tripod.
(2) LENSES
In my opinion, lenses are the most essential items in your landscape gear.
The two essential lenses for me are the main lens (usually 24-70mm) and a wide-angle lens. Do not underestimate the necessity for a wide-angle. I actually shot without one or the first few years before I realized how much I needed one. I have never looked back since.
Obviously, having a having a wide-range of lenses for any situation is optimal. I have lenses that cover from 16mm all the way through 600mm for virtually any situation. There is also the macro lens for those beautiful and creative close-ups of nature.
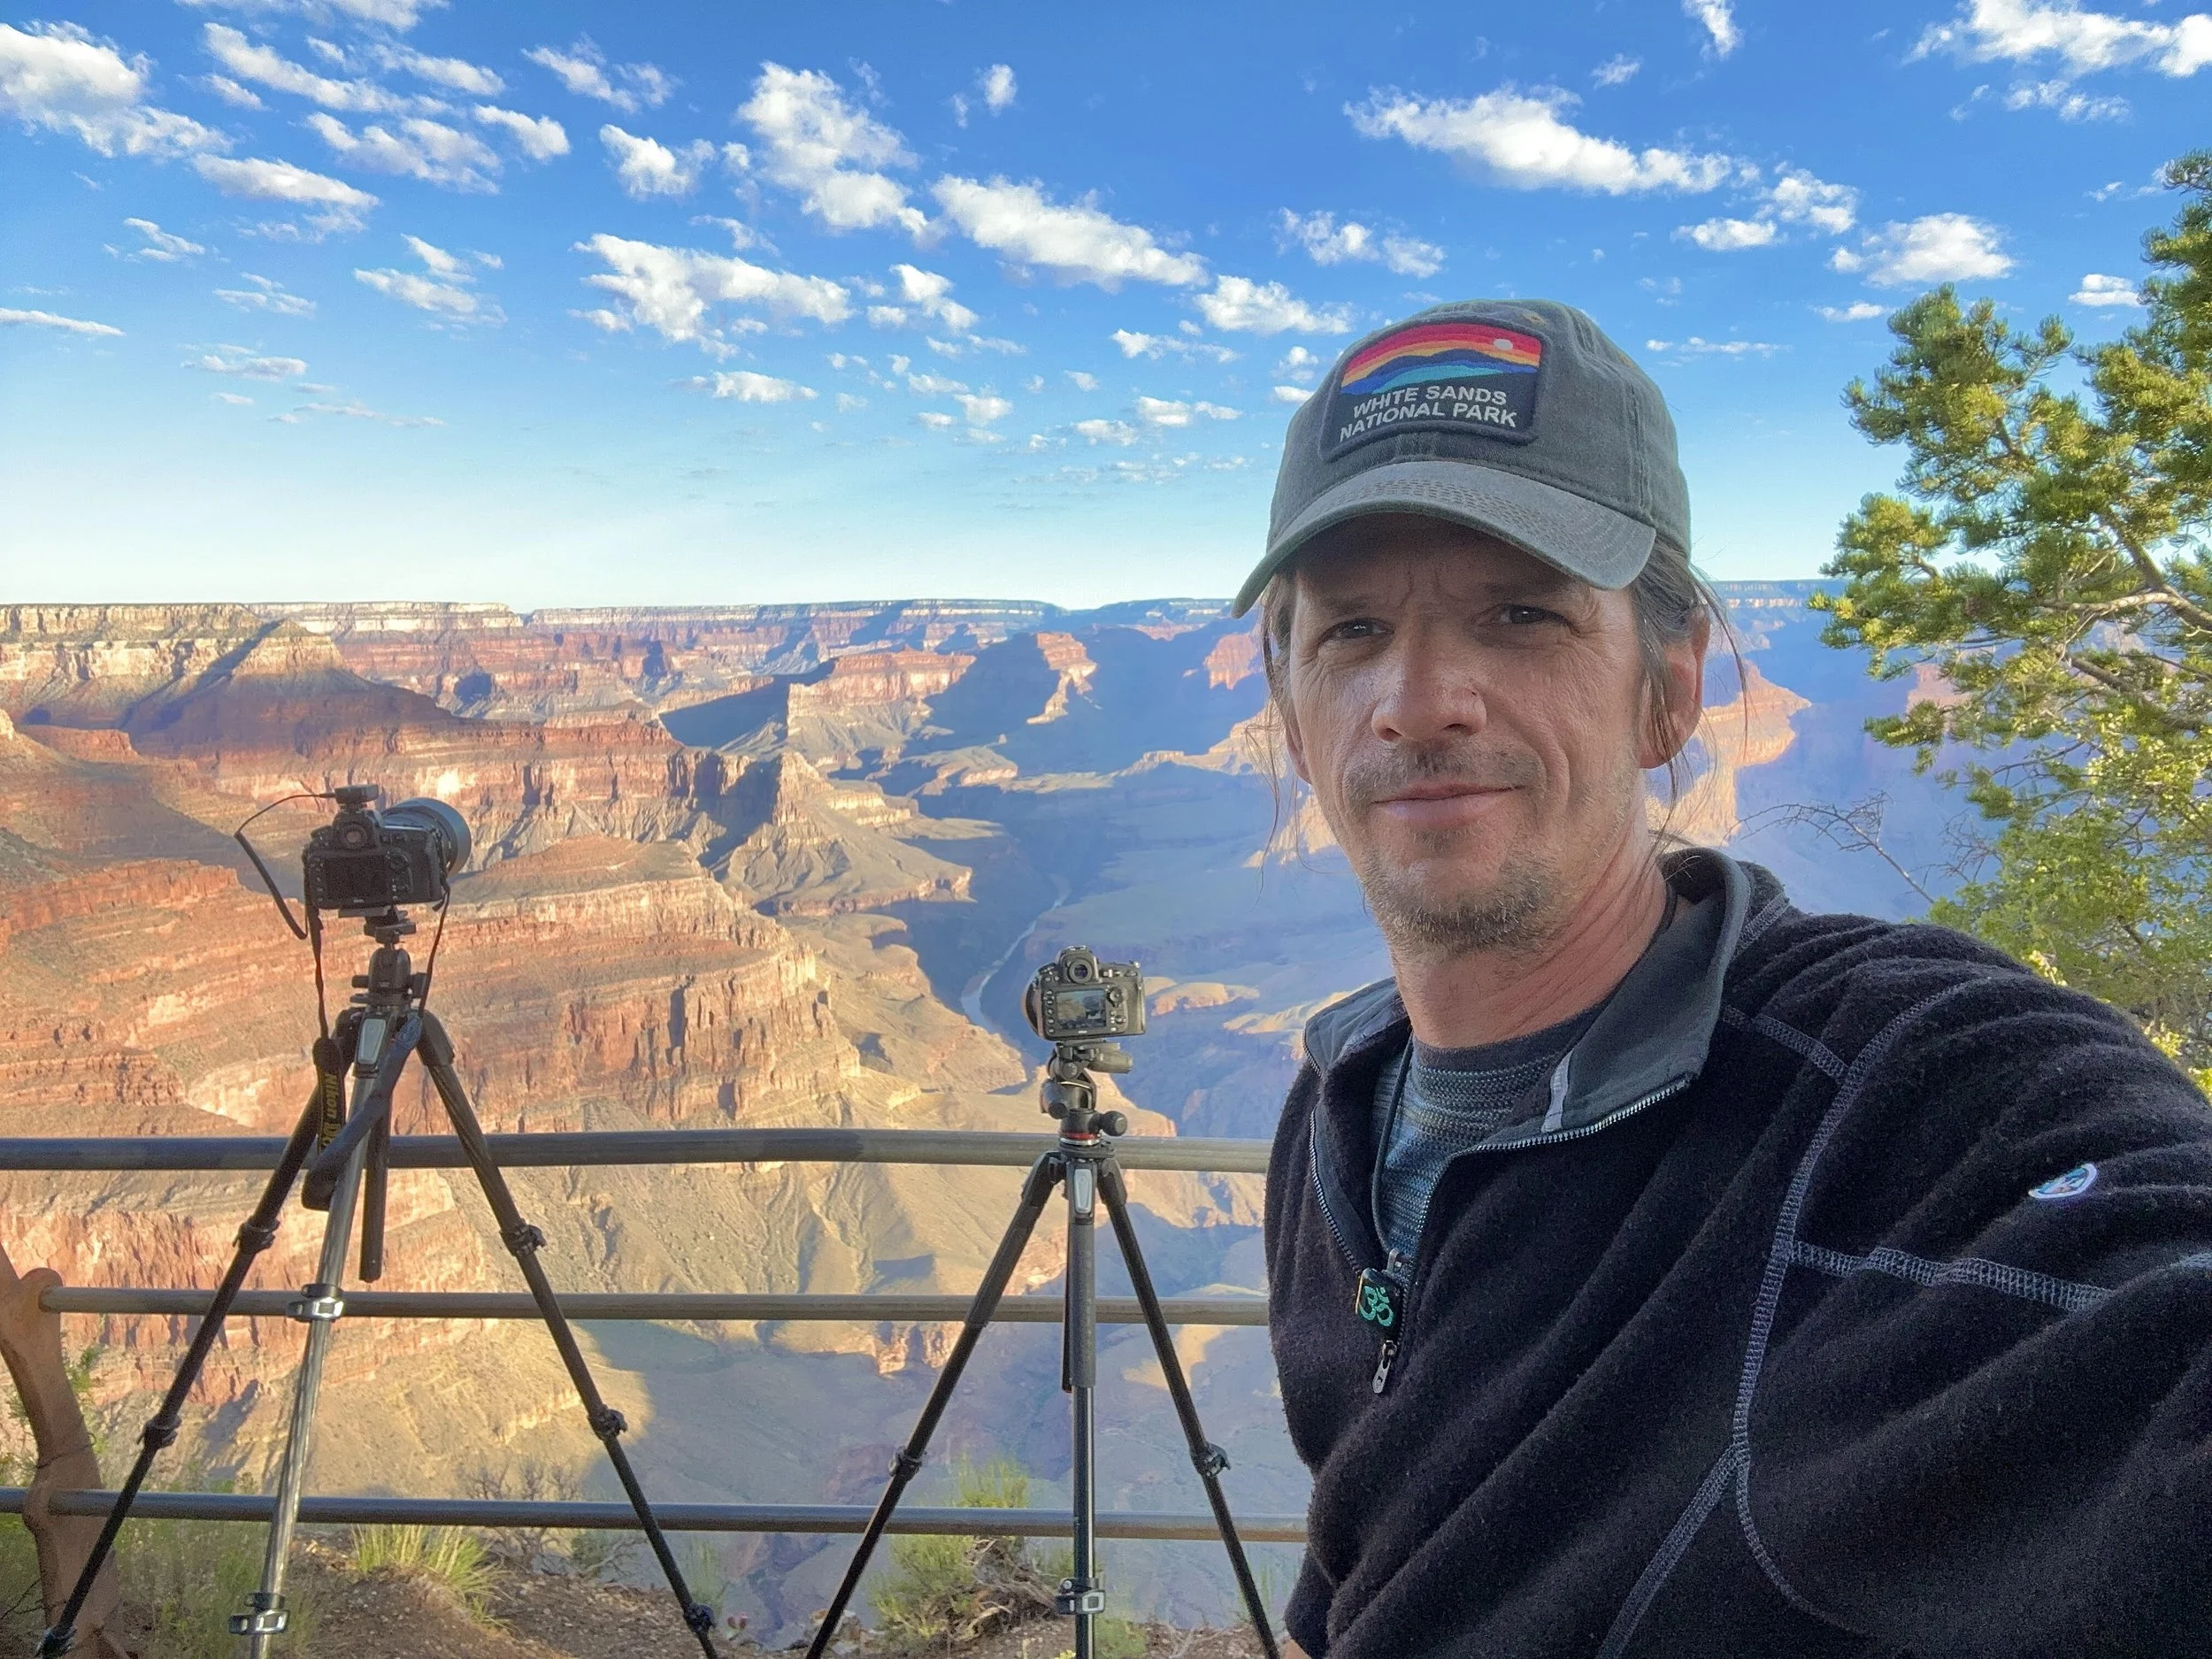
(3) STURDY TRIPOD
When it comes to landscape photography, a tripod is one item you don’t want to mess around with. In fact, it’s the other accessory – along with quality lenses – that I recommend you really put a lot of money into.
For landscape photography, a sturdy and reliable tripod is essential. Look for a tripod that balances stability, weight, and height, along with a versatile head. Carbon fiber tripods offer a good balance of weight and stability, while aluminum options are more budget-friendly. The carbon fiber option is absolutely worth every penny and I heartily suggest that you make that investment. Consider the tripod's maximum load capacity to ensure it can handle your camera and lens.
I recommend that even if the tripod comes equipped with an adjustable center column, do not use it at all.
By considering these factors, you can choose a tripod that will help you capture sharp and stable landscape images, even in challenging conditions.
(4) BALL-HEAD
You will need a solid ball head for landscape photography that is both stable and reliable. It should offer smooth and precise adjustments to help you compose your shots effortlessly. Additionally, it must have a good load capacity to securely support your camera and lens setup. When choosing one, look for practical features such as a large locking knob for easy operation, a notch specifically designed for vertical shooting, and a swivel mount equipped with a degree scale to help you capture accurate panoramic images.
(5) REMOTE CABLE RELEASE
Remote triggers are often overlooked by landscape photographers, but I firmly believe that having a remote shutter release makes a significant difference in the quality of your images. Without a remote, you are forced to physically press the shutter button on top of the camera, and no matter how careful you are or how securely fastened the camera is to the tripod, pressing the button can still introduce some slight shake or vibration. On the other hand, a remote allows you to fire the shutter from a distance—sometimes even from dozens of paces away—which can be especially useful if you want to avoid including your own shadow or presence in the frame.
So if you are aiming for a tack-sharp, professional-grade image, it’s important not to let anything physically touch the camera once it’s set up. Get your entire setup as steady and stable as your gear will allow, then instead of pressing the shutter button with your finger, invest in a reliable remote shutter release. These devices aren’t expensive, but they can go a long way toward maintaining crystal-clear sharpness in your photos and improving your overall shooting experience.
(6) FILTER #1: CIRCULAR POLARIZER
A polarizing filter is an essential tool that helps significantly reduce harsh and distracting reflections off shiny surfaces such as waxy leaves and wet rocks. This makes it particularly invaluable when capturing the vibrant colors of fall foliage or photographing scenes involving bodies of water, where reflections can often detract from the overall image quality.
Using a circular polarizer is quite straightforward; you simply attach the filter to the front of your lens, then rotate the front element until the unwanted glare fades or disappears altogether. It’s important to be aware that using a polarizer typically results in some light loss, but as long as you have a sturdy tripod to stabilize your camera, this minor drawback shouldn’t pose a problem.
Additionally, a polarizer can enhance your images by darkening the sky, turning it into a deeper, richer blue that adds dramatic effect. While some photographers prefer this enhanced look and others do not, I personally use a polarizer almost every time I shoot in daylight. Although you might not choose to do the same, I strongly recommend keeping a polarizing filter handy for each of your primary landscape lenses to maximize your shooting potential.
(7) FILTER #3: ND FILTER
An Neutral Density (ND) filter reduces the amount of light entering the lens, thereby blocking some light from reaching the camera’s sensor. This process effectively slows down the exposure time, allowing for creative control over shutter speed in bright conditions. For instance, a 3-stop ND filter decreases the amount of light hitting your camera sensor by three stops, meaning the sensor receives significantly less light compared to shooting without a filter. Similarly, a 5-stop ND filter cuts down the light by five stops, and this principle extends to filters with varying strengths.
For serious landscape photographers, I recommend carrying a set of ND filters, such as a 2-stop, 3-stop, and 10-stop filter. This variety allows for greater flexibility depending on the light conditions and the effect you want to achieve. If you’re just beginning your photography journey, it might be more practical to start with a 10-stop ND filter and then expand your collection as you learn more. The 10-stop filter is particularly useful for long-exposure waterscape photography, as it helps create a silky smooth effect on moving water. Additionally, you can use this filter to elongate the appearance of clouds in the sky, creating dramatic streaks and movement—though this effect depends on factors like lighting conditions and wind speeds at the time of shooting.
(8) FILTER #2: GRADUATED ND FILTER
Graduated Neutral Density (GND) filters are quite similar to standard Neutral Density filters, but with an important difference: only the upper portion of the filter is darkened. This design is especially useful in situations like sunrises and sunsets, where the sky is significantly brighter than the foreground.
By using a GND filter, you can darken the horizon and sky while keeping the foreground well-exposed and vibrant. This allows you to capture scenes with a high dynamic range without losing important details in either the highlights or shadows. However, it’s worth noting that high-quality GND filters can be quite expensive. Alternatively, you can achieve comparable results by using exposure bracketing combined with HDR blending techniques in post-processing. Some landscape photographers prefer the convenience and authenticity of physical filters, while others lean towards the flexibility and control offered by digital HDR methods. Both approaches have their advantages, and ultimately, the choice depends on your personal shooting style and preferences.
(9) MULTIPLE MEMORY CARDS
Memory cards, much like batteries, have a frustrating habit of ceasing to function at the most inconvenient and unexpected moments. They can suddenly run out of space, unexpectedly demand formatting, or simply fail without any warning. If you find yourself unprepared during such an incident, a memory card problem can quickly escalate into a trip-ending disaster. I, unfortunately, speak from experience on this one.
Therefore, it’s essential to always carry at least one extra memory card with you. In fact, bringing two or more spares provides an added layer of security and peace of mind. Depending on how frequently and intensively you shoot, it might even be wise to carry an entire case full of memory cards, like I do, to ensure you’re never caught off guard.
(10) EXTRA BATTERIES
Always, always, always, without exception, carry an extra battery for your camera and extra batteries for any other battery-powered devices (such as your remote release and flash). You don’t want to head out for a lengthy landscape photography adventure only to have your camera die mid-shoot! Modern mirrorless cameras tend to require a lot of battery recharging, so if you plan to spend several days out shooting, consider purchasing a few additional batteries to be safe.
I carry a battery case that has four extra camera batteries and an additional AA battery case that holds 8 additional AA batteries wherever I go. The AA batteries are for accessories such as remote shutter release and headlamp.
(11) HEADLAMP
Speaking of headlamps, this is something I NEVER leave on a hike or a photo shoot without. I got caught in the wilderness of the Great Smoky Mountains National Park (you know, bear country) without one once…twenty years ago! I learned to never make that same mistake again.
They also come in handy when putting your gear away after a sunset shoot when its practically pitch black outside. Ensure that you have a headlamp with the extra batteries mentioned earlier.
(12) LENS CLEANER
A high-quality microfiber lens cloth is an essential tool for landscape photographers to maintain the pristine condition of their lenses, ensuring sharp, clear images and protecting their equipment from the harsh realities of the outdoors. It is a great idea to combine it with an air blower or brush to remove loose particles before wiping to prevent scratches. I personally rely on a lens pen to do the trick.
Inevitably, you'll touch your lens or filters, leaving behind smudges and fingerprints that degrade image quality by scattering light and lowering contrast, especially in challenging light conditions or with wide apertures. Lens cloths allow you to remove these quickly and effectively.
Wind and hiking can deposit dust on lenses; using a lens cloth with an air blower removes particles without scratching. Water droplets from waterfalls, oceans, rain, or snow can spoil images; lens cloths quickly absorb them. Saltwater, when photographing seascapes, leaves residue hard to clean with dry cloths—pre-moistened lens wipes plus a microfiber cloth work best. Lens coatings are fragile; microfiber cloths prevent scratches and lint better than paper towels or regular fabrics.
I gently clean my lenses before I start shooting and follow it up with a second cleaning at the end of my shoot as well.
(13) BACKPACK
When it comes to landscape photography gear, a backpack is absolutely essential – and it’s not the place to skimp on quality. You get what you pay for, and it’s very important you use a strong, water-resistant bag, one with reinforced padding. The goal here is to protect your equipment and keep things comfortable, and while protection and comfort may not currently seem like a pressing issue, wait until you spend a day hiking through the forest through a downpour!
So do yourself a favor and invest in a high-quality bag. As you consider different options, pay attention to the size of the bag and how it matches your own cameras, lenses, and accessories. Check user reviews to assess comfort, and see if you can find a durable model that gives you some room to grow.
My camera bag can hold two camera bodies, four lenses, a drone, the drone remote, my extra batteries, memory cards, cleaning equipment, my filters and even has an accessory that I can attach my tripod to. I said that I would not mention any particular brands, but the manufacturer of my bag has nine letters, starts with an M and ends with an O.
In conclusion…
If you want to be a landscape photographer, this article should help you choose the right gear. Remember, good gear is usually not cheap, but it helps you take sharp and striking photos. When you see your results, you’ll be happy you invested in quality equipment. However, the most important thing is to get out and practice using your gear. In my opinion, experience and learning to properly use that equipment are more valuable than the gear itself!


