
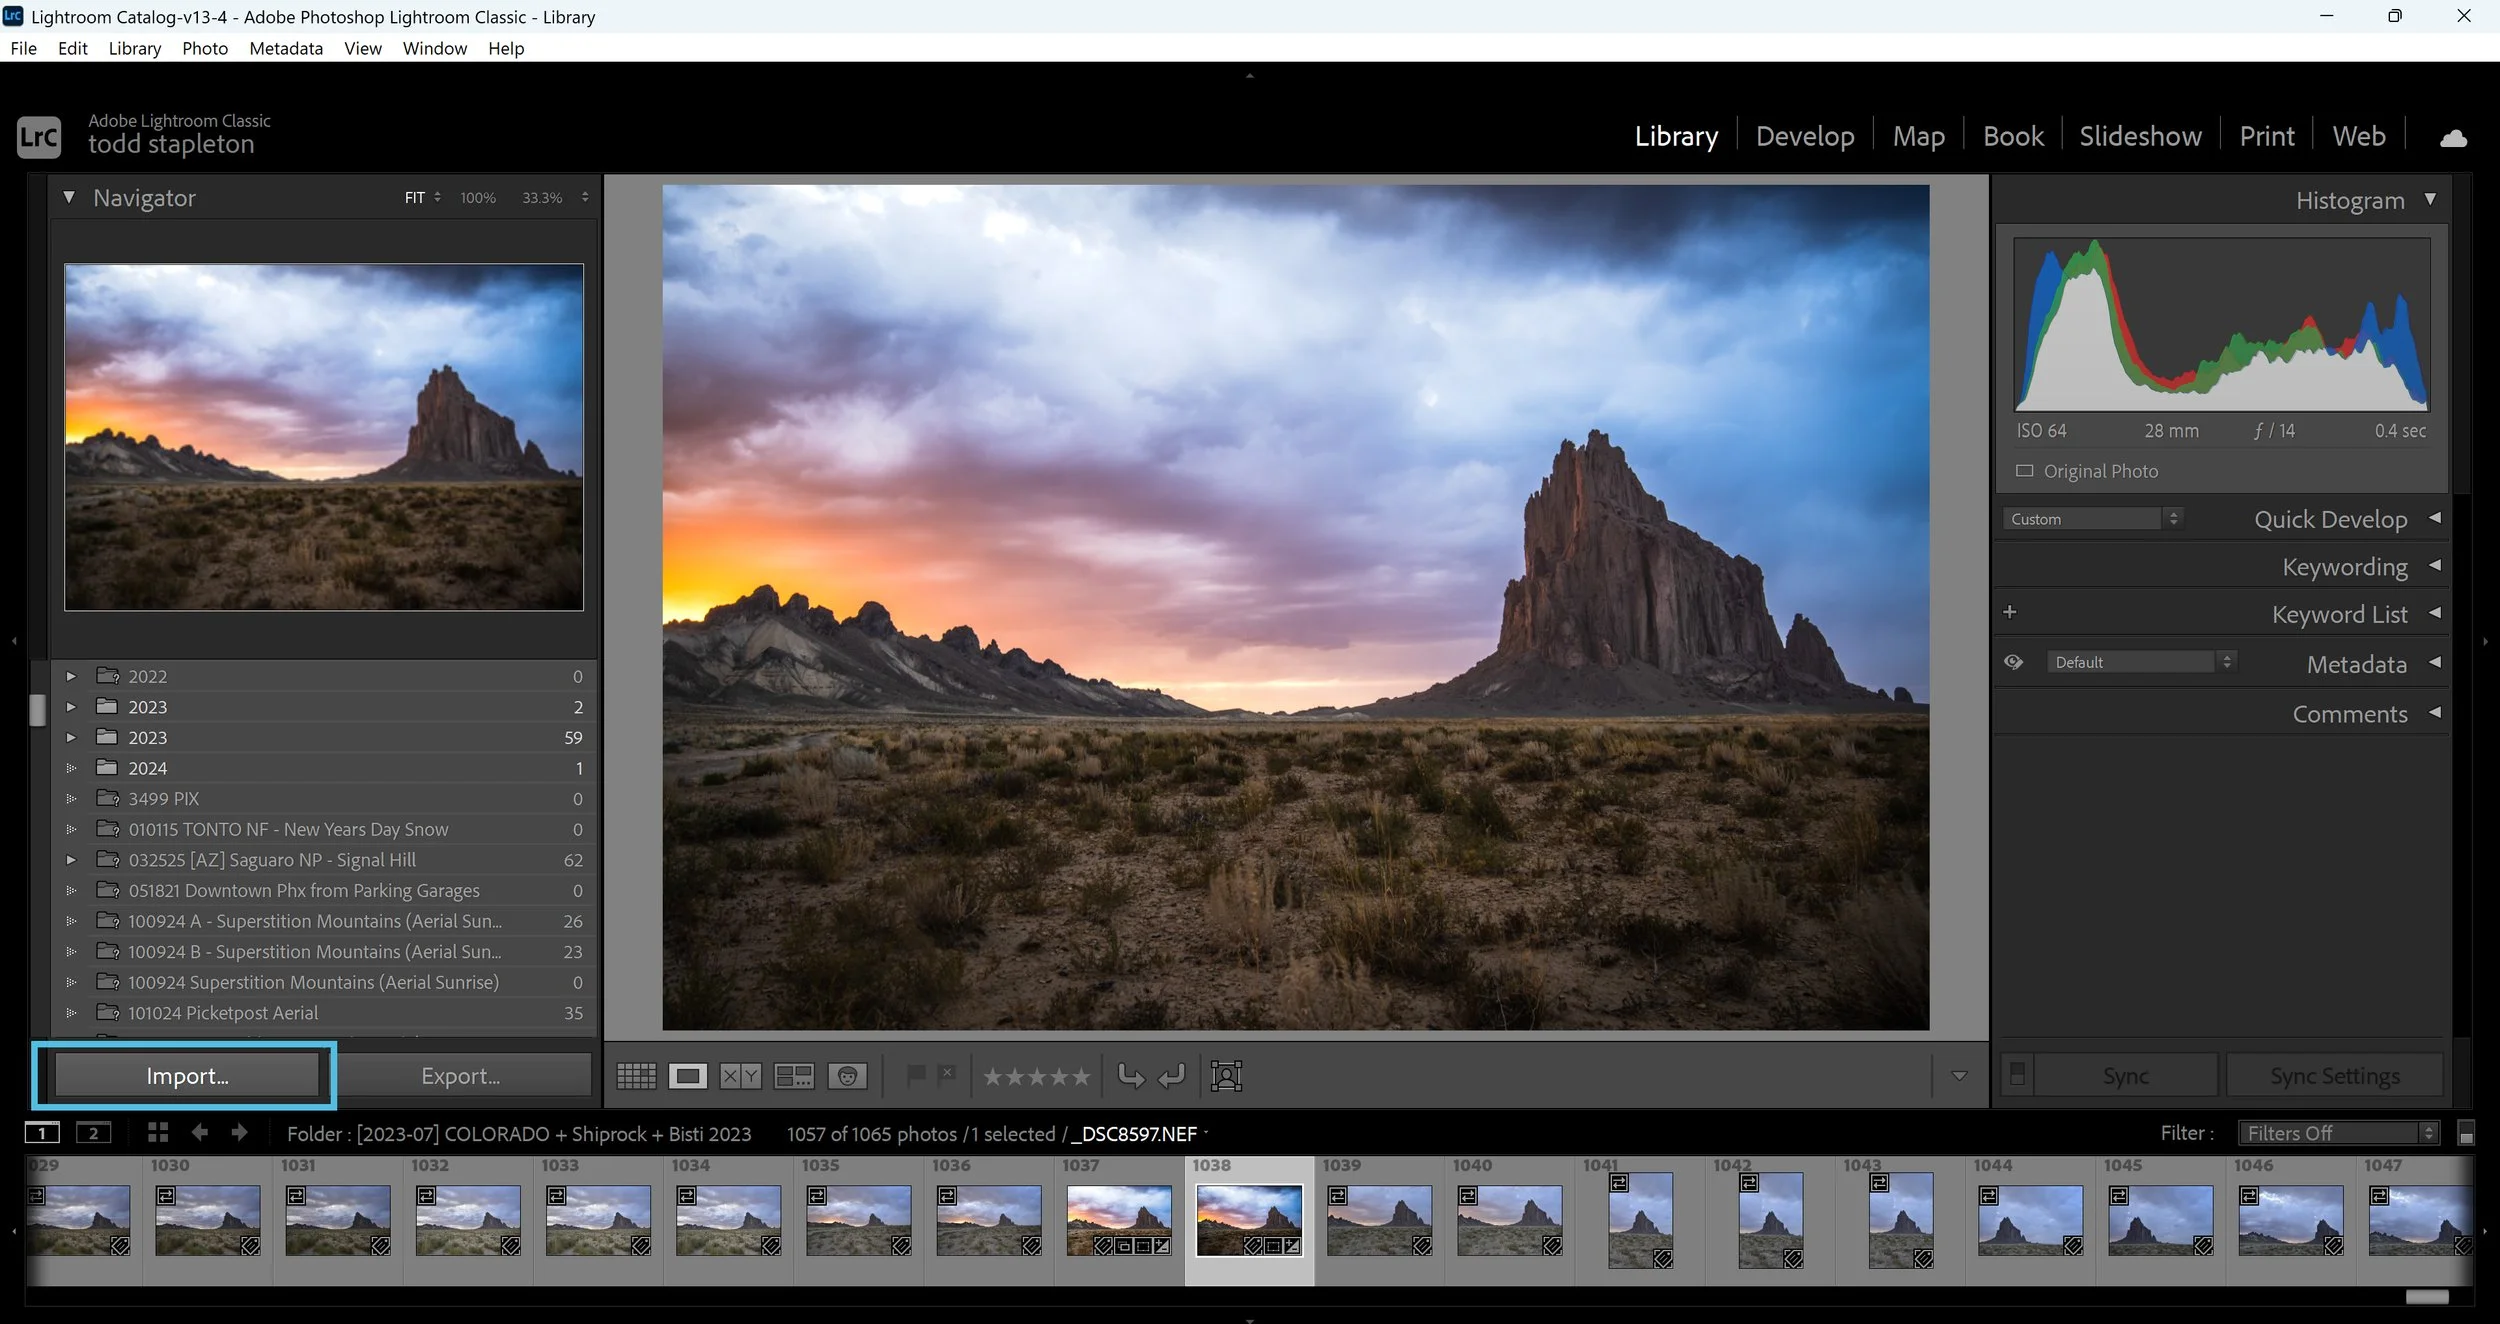
How To Import Photos Into Lightroom Classic

Importing photos into lightroom CLASSIC is not difficult…but, here’s some helpful hints!
Lightroom Classic, to me, is the premier photo processing software. Lightroom Classic offers a wide range of options when opening the import dialog box, which can sometimes make the process seem complex. To streamline importing, this explanation assumes photographs are in RAW format.
Common issues during the import process often result from two main factors: users not paying attention to their selection at the top of the import dialog box and inconsistent methods of importing images. The available import options are Copy as DNG, Copy, Move, or Add.
Consistency is important when transferring images from a camera to a computer. Typically, SD cards are connected to computers for this process. The recommended steps are to copy image files from the SD card to the desired permanent storage location, either on the computer’s hard drive or an external drive.

Copy as DNG converts your camera’s RAW files (e.g., NEF for Nikon, CR3 for Canon) into DNG, Adobe’s universal RAW format. DNG files are generally 15-20% smaller due to compression and removal of some brand-specific data, but once converted, you can’t revert to the original RAW format. Unless you have a specific reason, it’s fine to keep your original RAW files.
MOVE transfers files from their current location to a destination you select in Lightroom's Import Dialog, but this option is only available if the files are already on a hard drive—not directly from an SD card.
The ADD option appears when importing from a location already on your computer and only adds photos to the catalog without moving or copying them. It’s useful if files are already stored where you want them.
COPY is the main choice for importing photos directly from an SD card. It copies RAW files to your chosen storage location and adds them to your Lightroom catalog. Always confirm your files are copied and backed up before deleting anything from your SD cards.
The second most common importing mistake often happens in the Destination Panel. While some users find this Panel straightforward, others may experience confusion. Missing a checkbox or selecting the wrong parent folder can affect the folder organization or make it difficult to locate imported photos. For these reasons, users may choose to avoid the Destination Panel and instead adopt an alternative workflow.
This workflow begins before opening the Import Dialog box. First, in the Library Module, navigate to the Folders Panel and select the parent folder where you want to store your photos. Many people organize folders using a date and location format. Click the plus sign to add a subfolder and label it as desired.
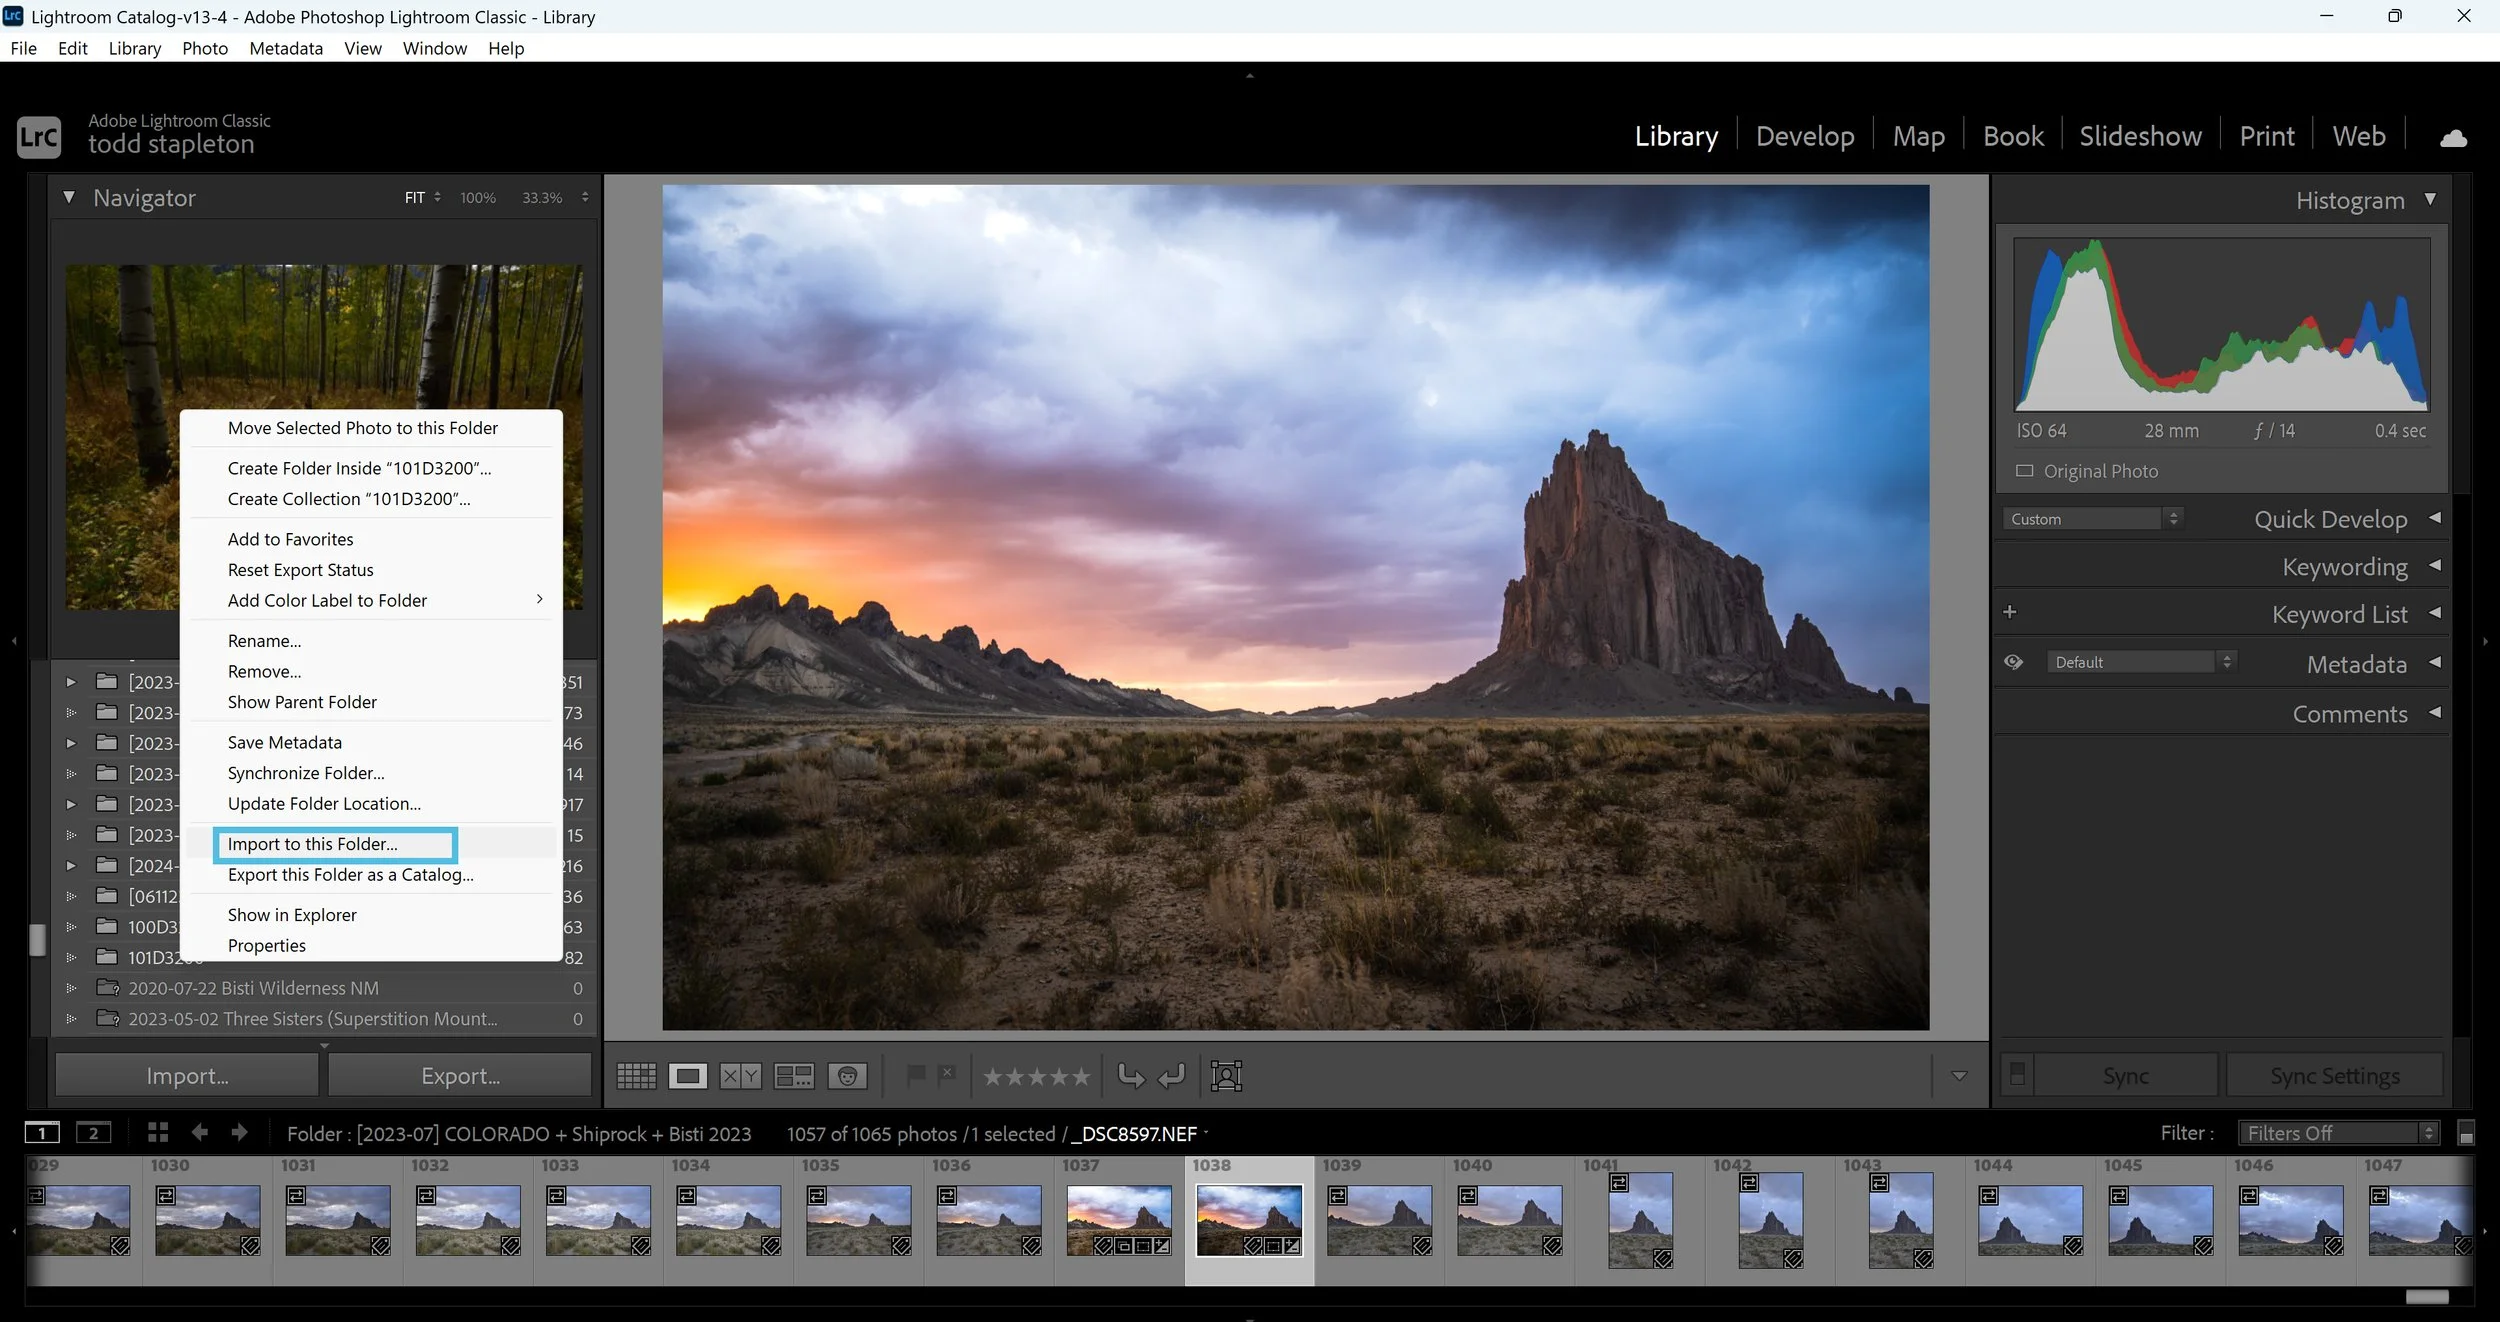
After creating the desired folder, right-click and select "Import to this Folder." The Import Dialog box will then open, with the Destination Panel set automatically. This approach reduces errors and ensures that the intended folder structure is maintained during import.

Always be sure to select COPY and check the “Don’t Import Suspected Duplicates” box. Lightroom spots duplicates using capture time, date, and filename—without this box checked, you may easily import duplicate photos, especially if your SD cards aren’t cleared regularly. Removing duplicates from your Lightroom catalog is difficult without third-party tools, and can cause errors or issues in Lightroom. Keeping the box checked is essential best practice.
In conclusion, remember these three tips: copy your photos, avoid importing suspected duplicates, and right-click the new folder in the Folders Panel to open the import dialog. These steps make importing into Lightroom easy and efficient.
Hope these tips help—enjoy using Lightroom Classic!


